Raspberry Visions

Dateline: 2013 - Santa Fe Springs
This was one of my favorite projects and I had to learn a lot to get it working reliably and for a reasonable cost.
A new bid RFQ became available for a decent sized Regional Public Transport Organization who were looking for a company to install dispensers for chemical cleaning solutions to use in their Vehicle Wash operations, and keep supply tanks full with minimal work on their end, and an SLA requirement of 24 hour response time to any issues. The bid project had a budget of $36,000 over 3 a year contract, with options to extend.
So at a high level, they wanted a hands-off system, with no re-filling or maintenance of equipment by their staff. Their Service Worker contractors were only to dispense and use products during their operations cleaning the vehicles.
We were very interested as we were able to produce the cleaning chemicals, and we had some experience with maintaining equipment like that. But we hadn't done tank fills yet, and the distance was a bit out of our local range at about 60 miles one-way which might make maintenance and refill operations difficult.
After studying tank fill options, we decided we might be able to fill the tanks with an electric high speed pump running at about 45GPM, which could be obtained for less than $1k. Our main challenge at that point would be how to keep the tanks filled without having to drive an hour out to the facility just to see how much supplies were left.
The previous supplier had a flat-bed truck with tanks mounted on it, and just drove by monthly, refilling as needed and charging for whatever was dispensed. Not a bad system, but a bit rigid and may result in less than optimal business performance if they was any variation in usage rates.
The Plan
My thinking was that if I was able to install some sort of remote monitoring equipment, we could perform that operation with direct knowledge of the current supply situation and schedule production and deliveries with Just-in-Time precision.
I had built a previous project to give us remote monitoring capability using liquid level switches attached to a Raspberry Pi to give us early warning on low levels at one of our Hotel clients. The Pi was running a python app I built to send an email to me based on any trip of the liquid level Normally Off switches, which worked perfect in my test environment (of course!), but after time the switches would get gummed up or damaged by the products and lead to situations where product would run out, which less than great.
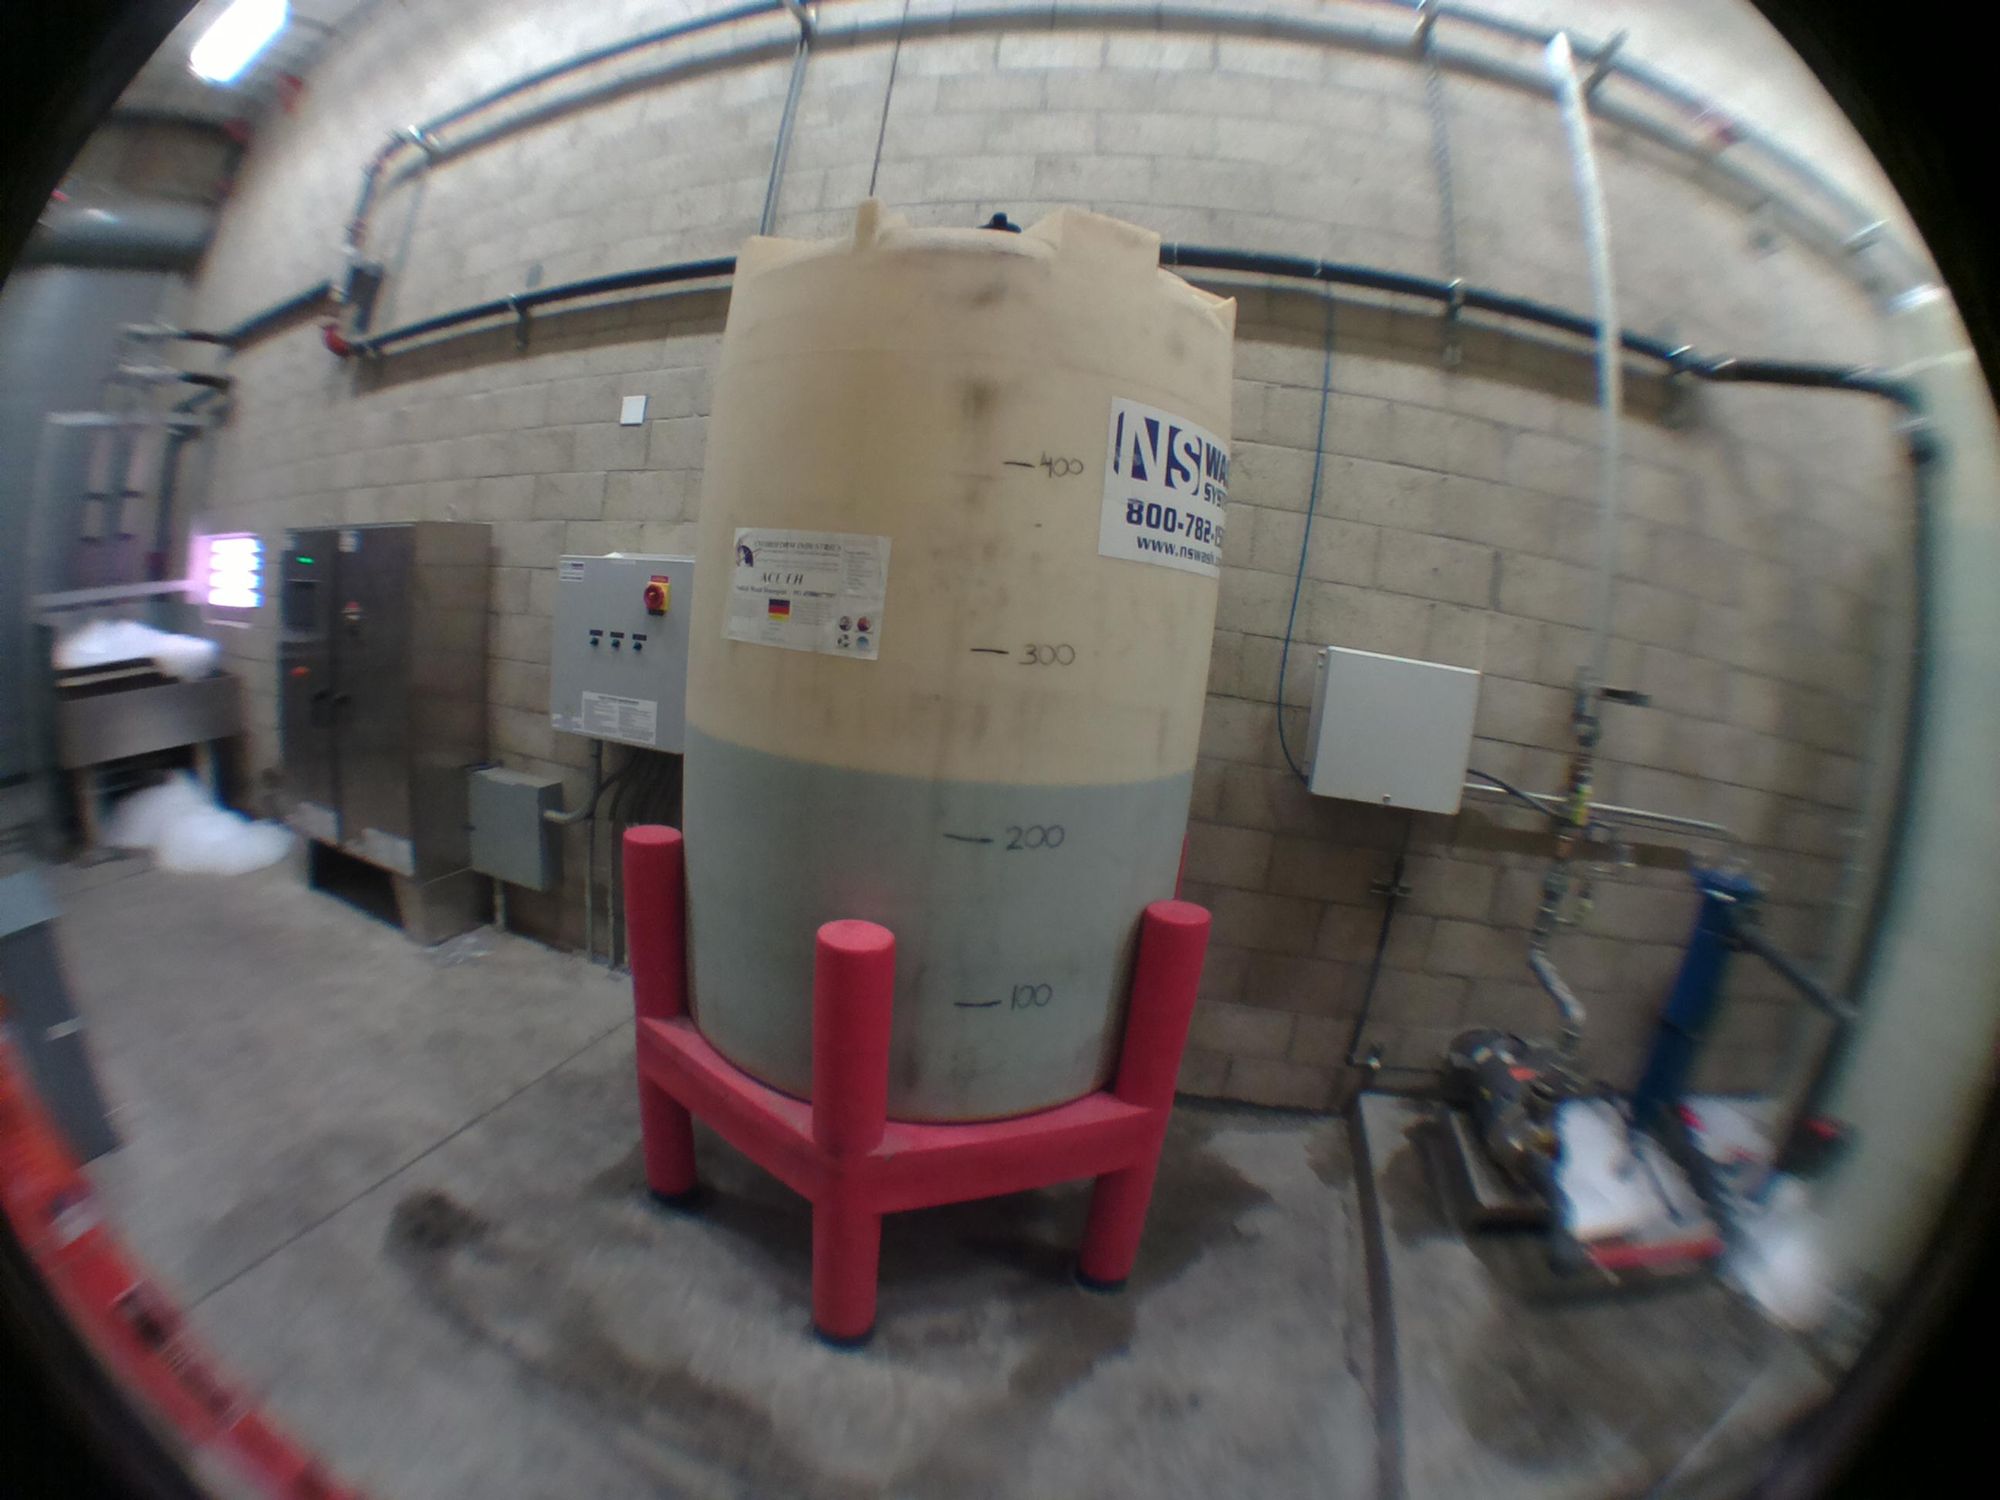
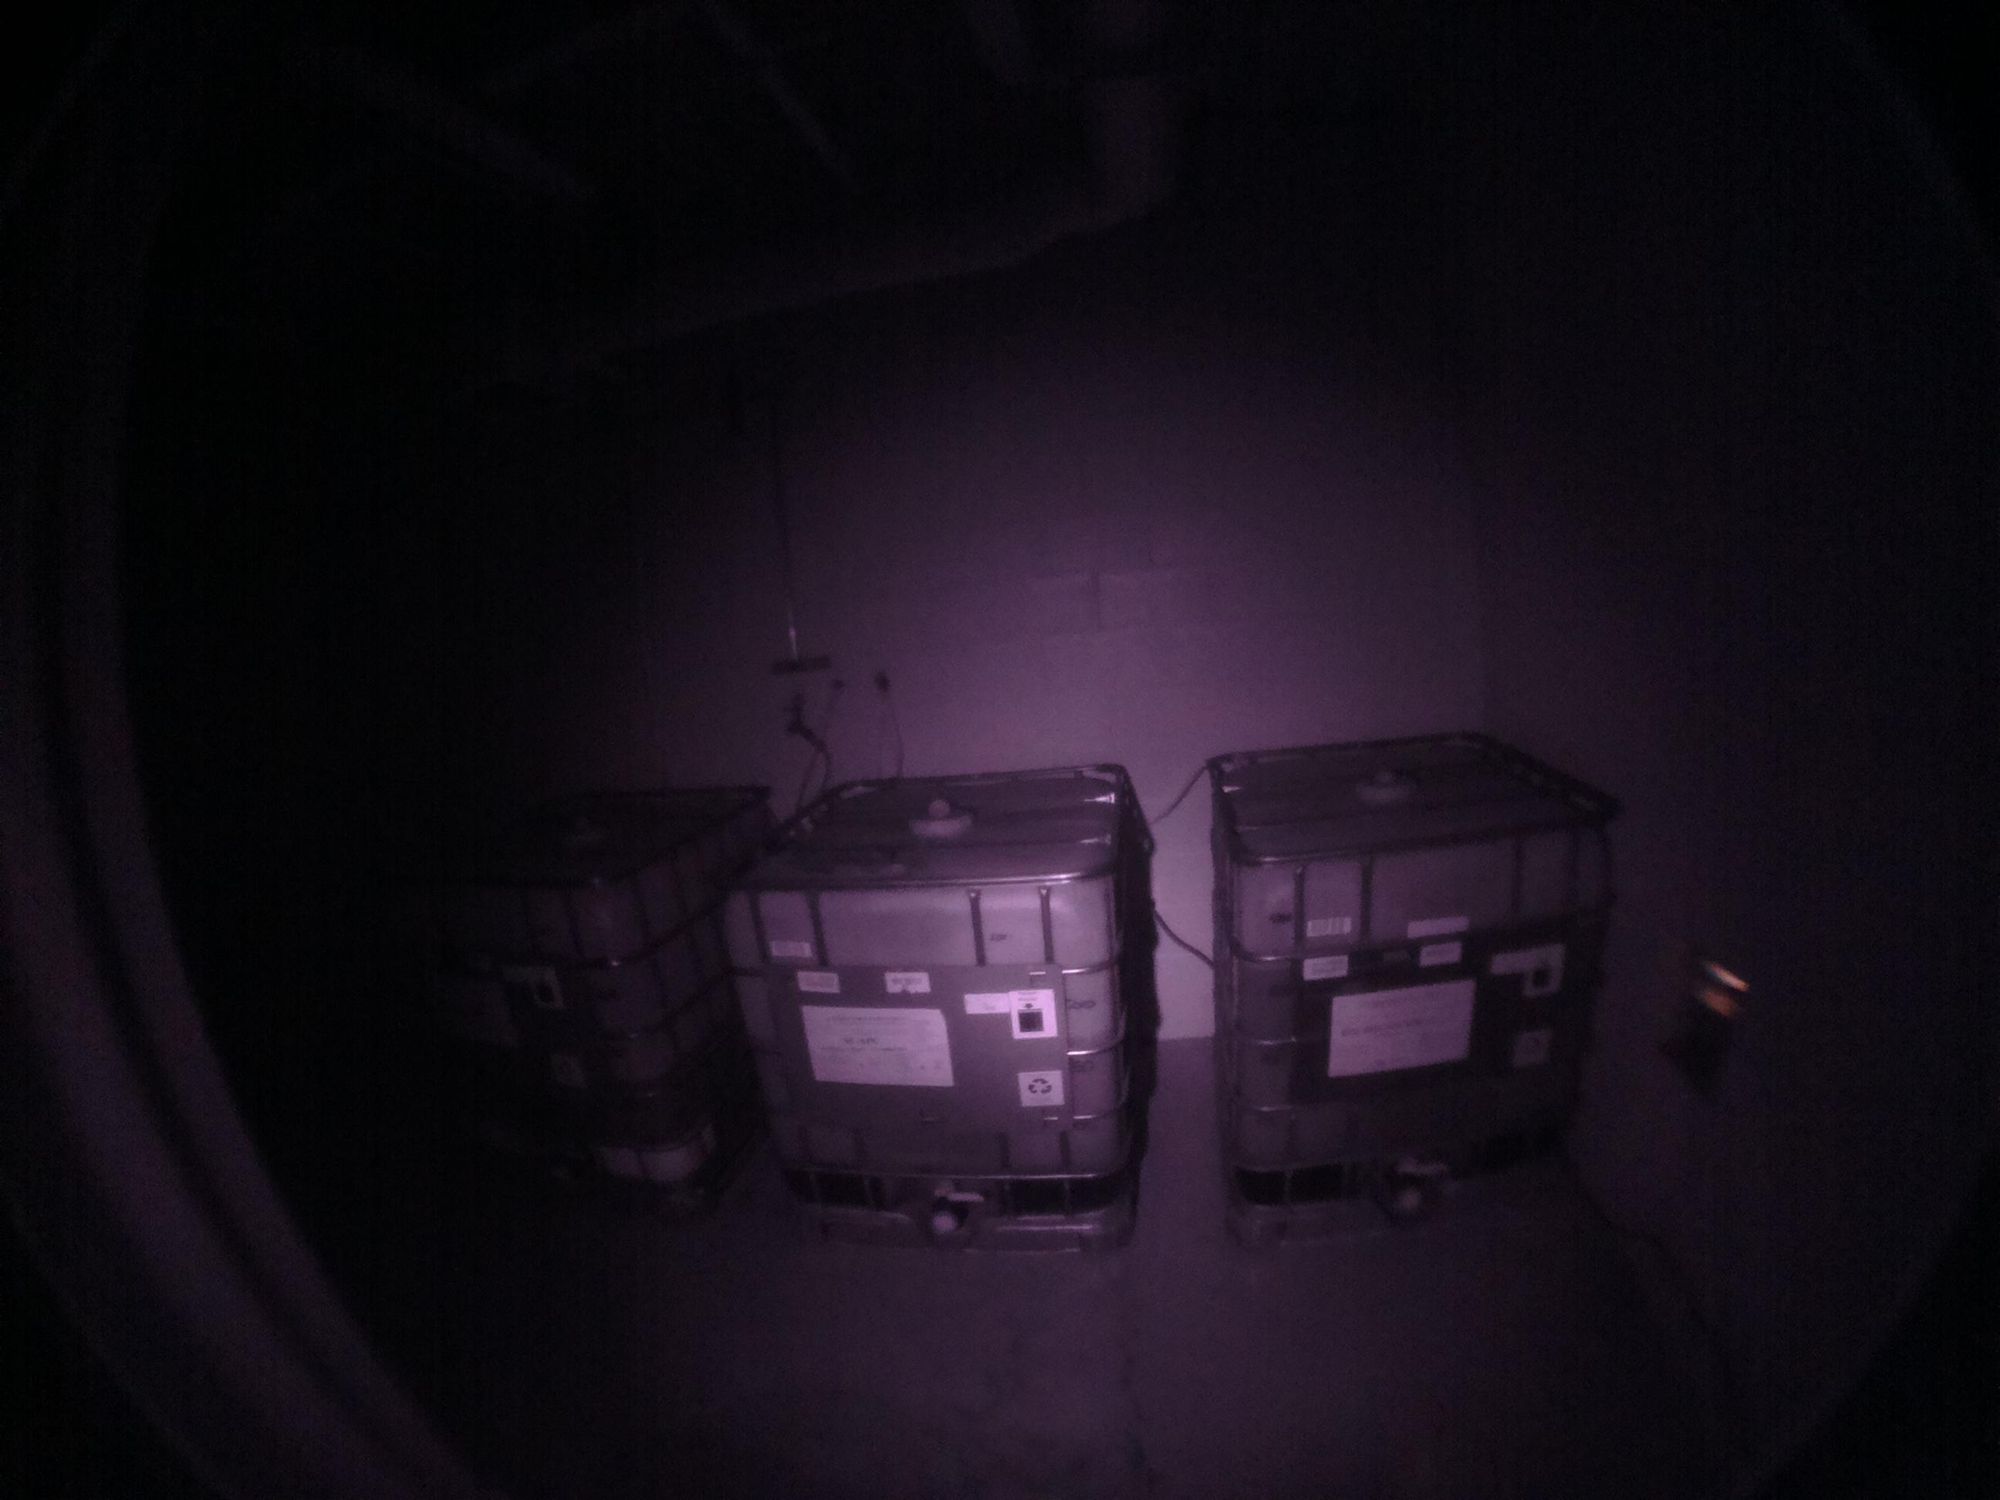
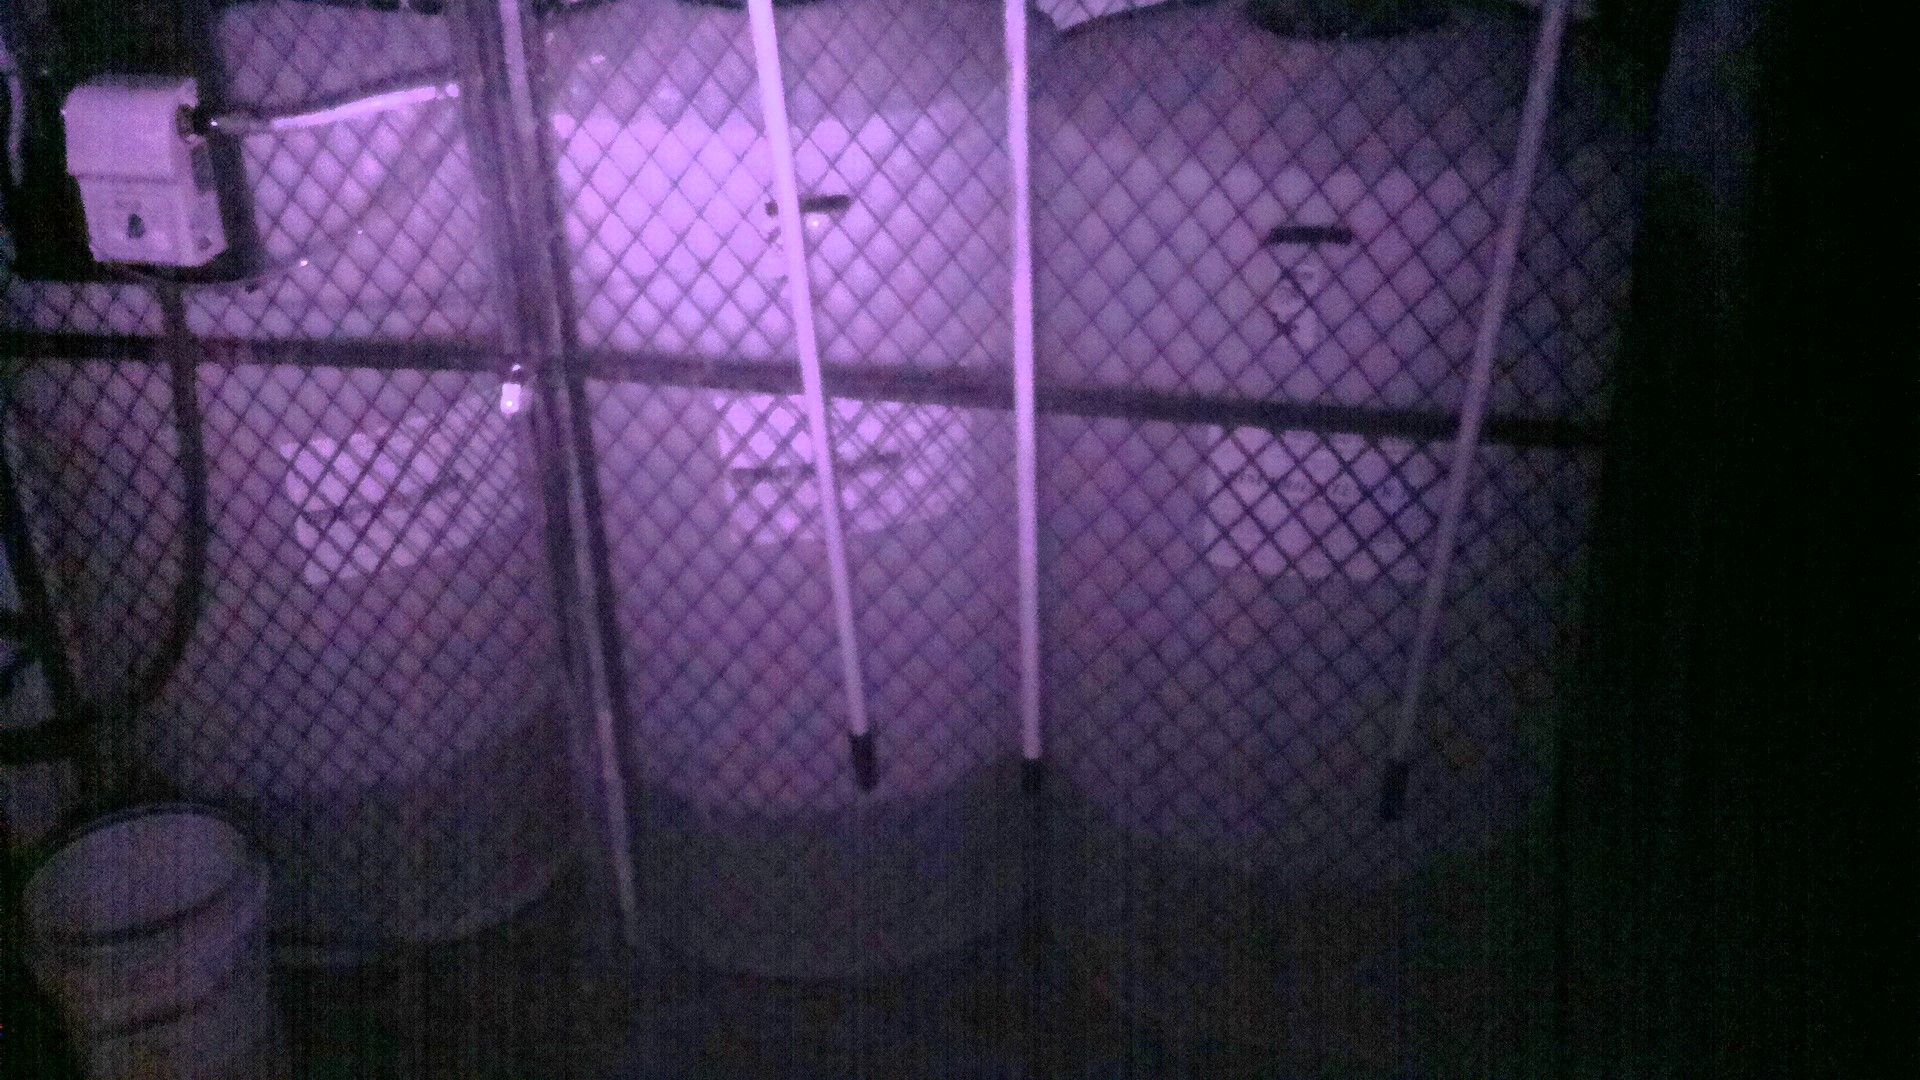
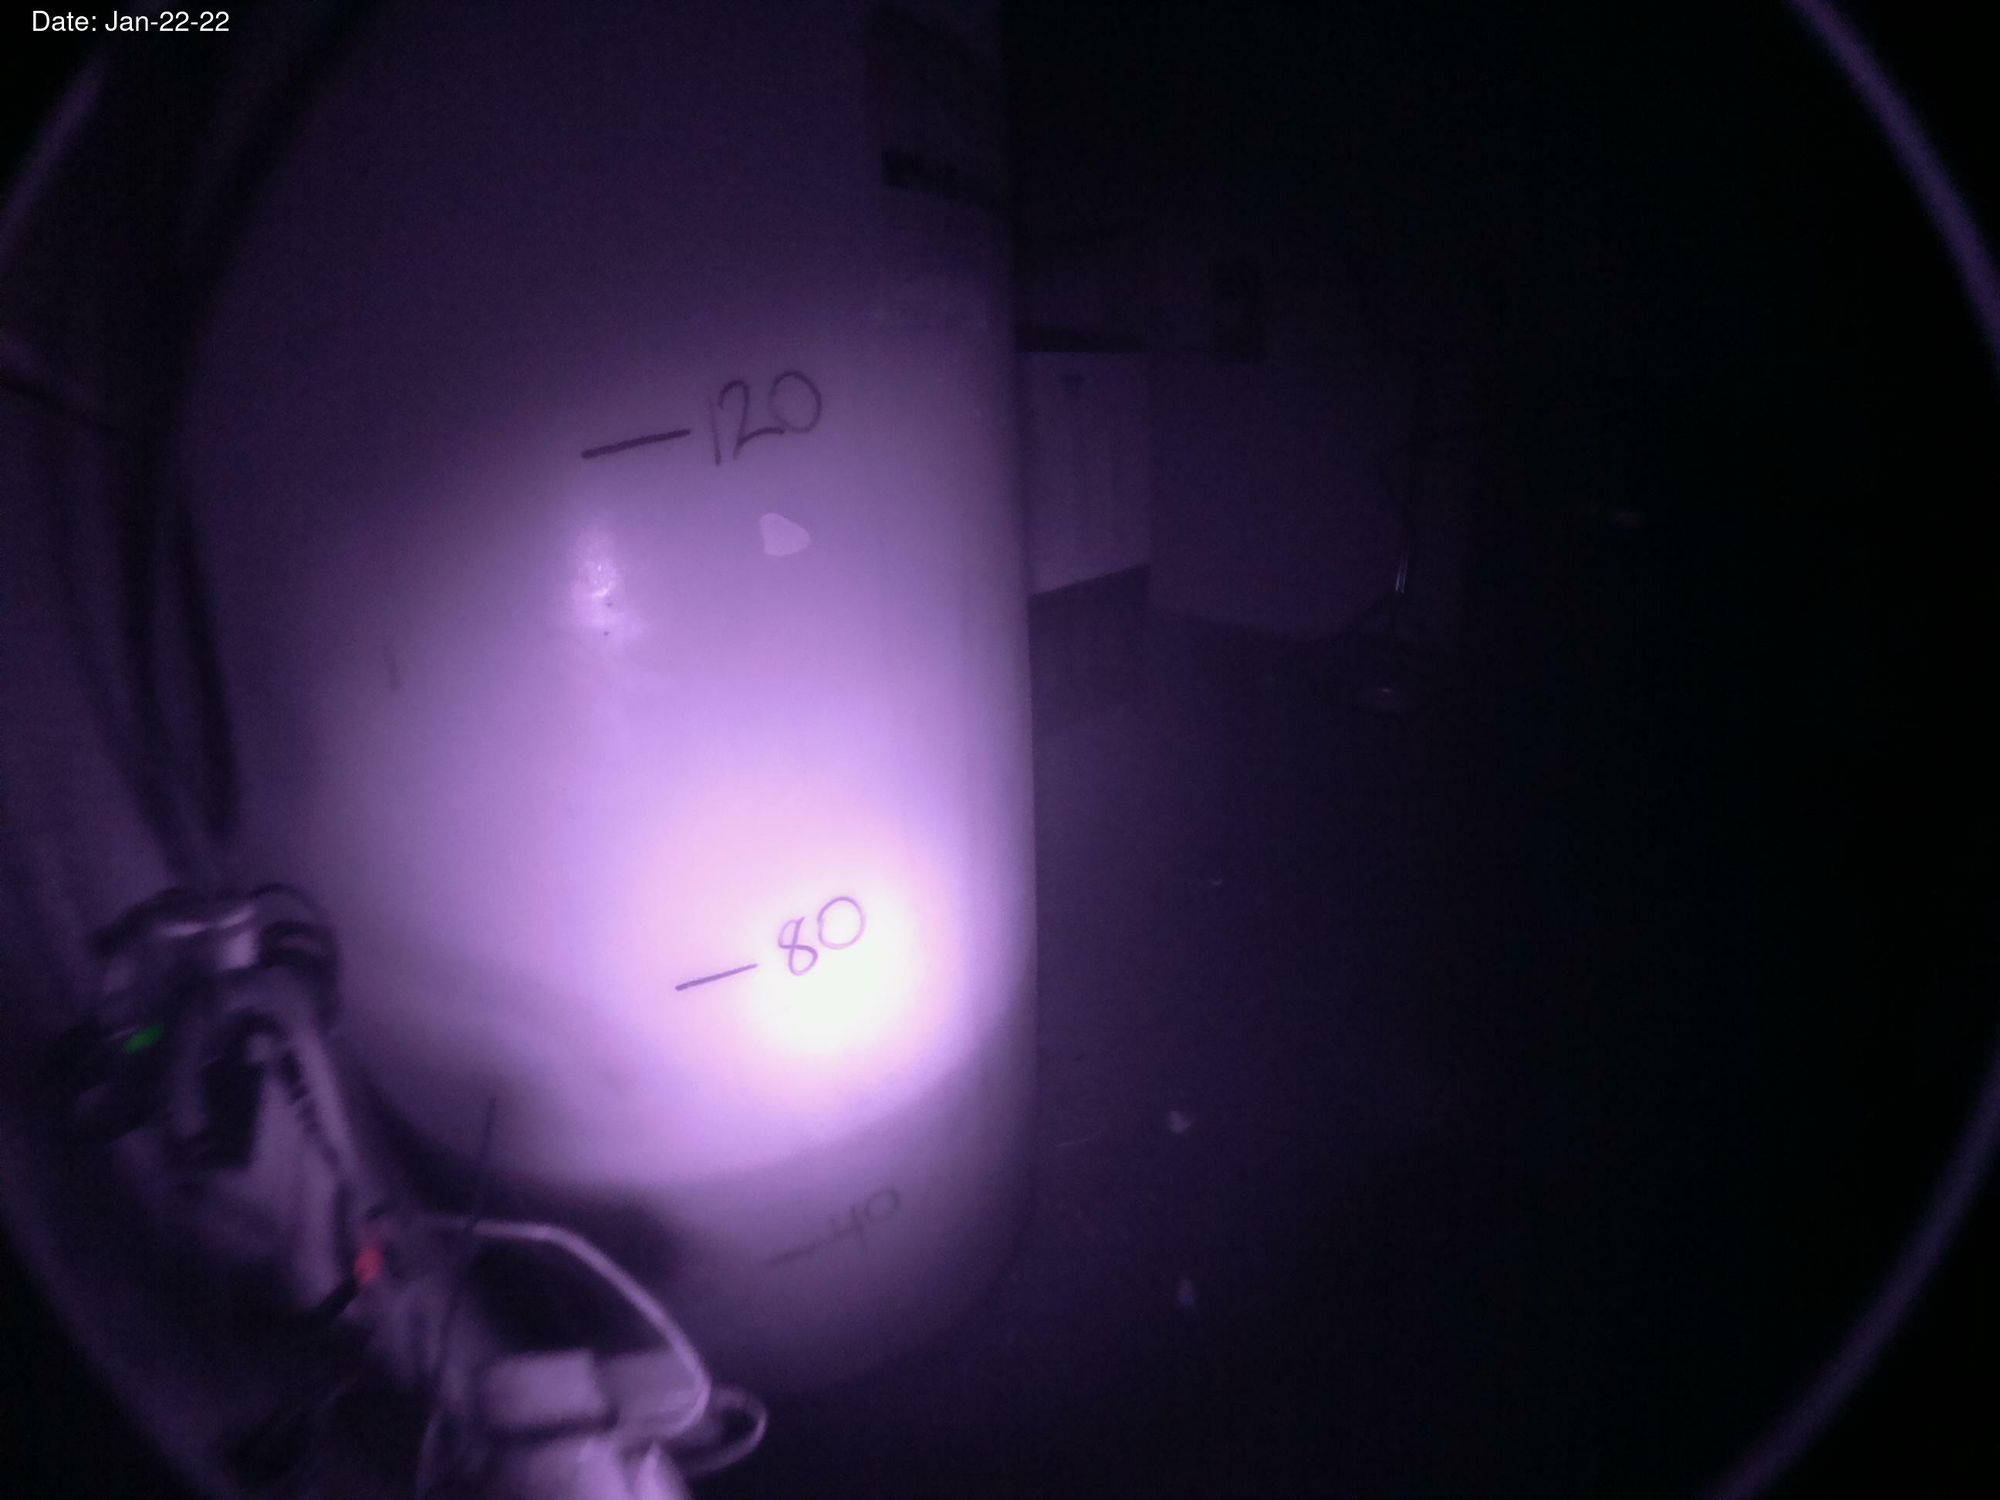
Between that project and the new bid RFQ, the Raspberry Pi team released a camera attachment as well as an Infra-Red night vision capable camera, which was really cool, but also gave me an idea: what if we could just look at the levels of the supply to keep tabs on them? Just, everyday shoot me an update on the supply level? This sounds like it would work with less moving parts, so more reliably!
The initial build
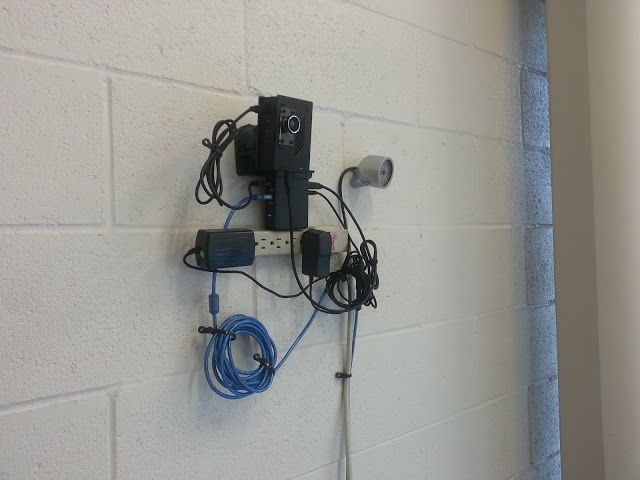
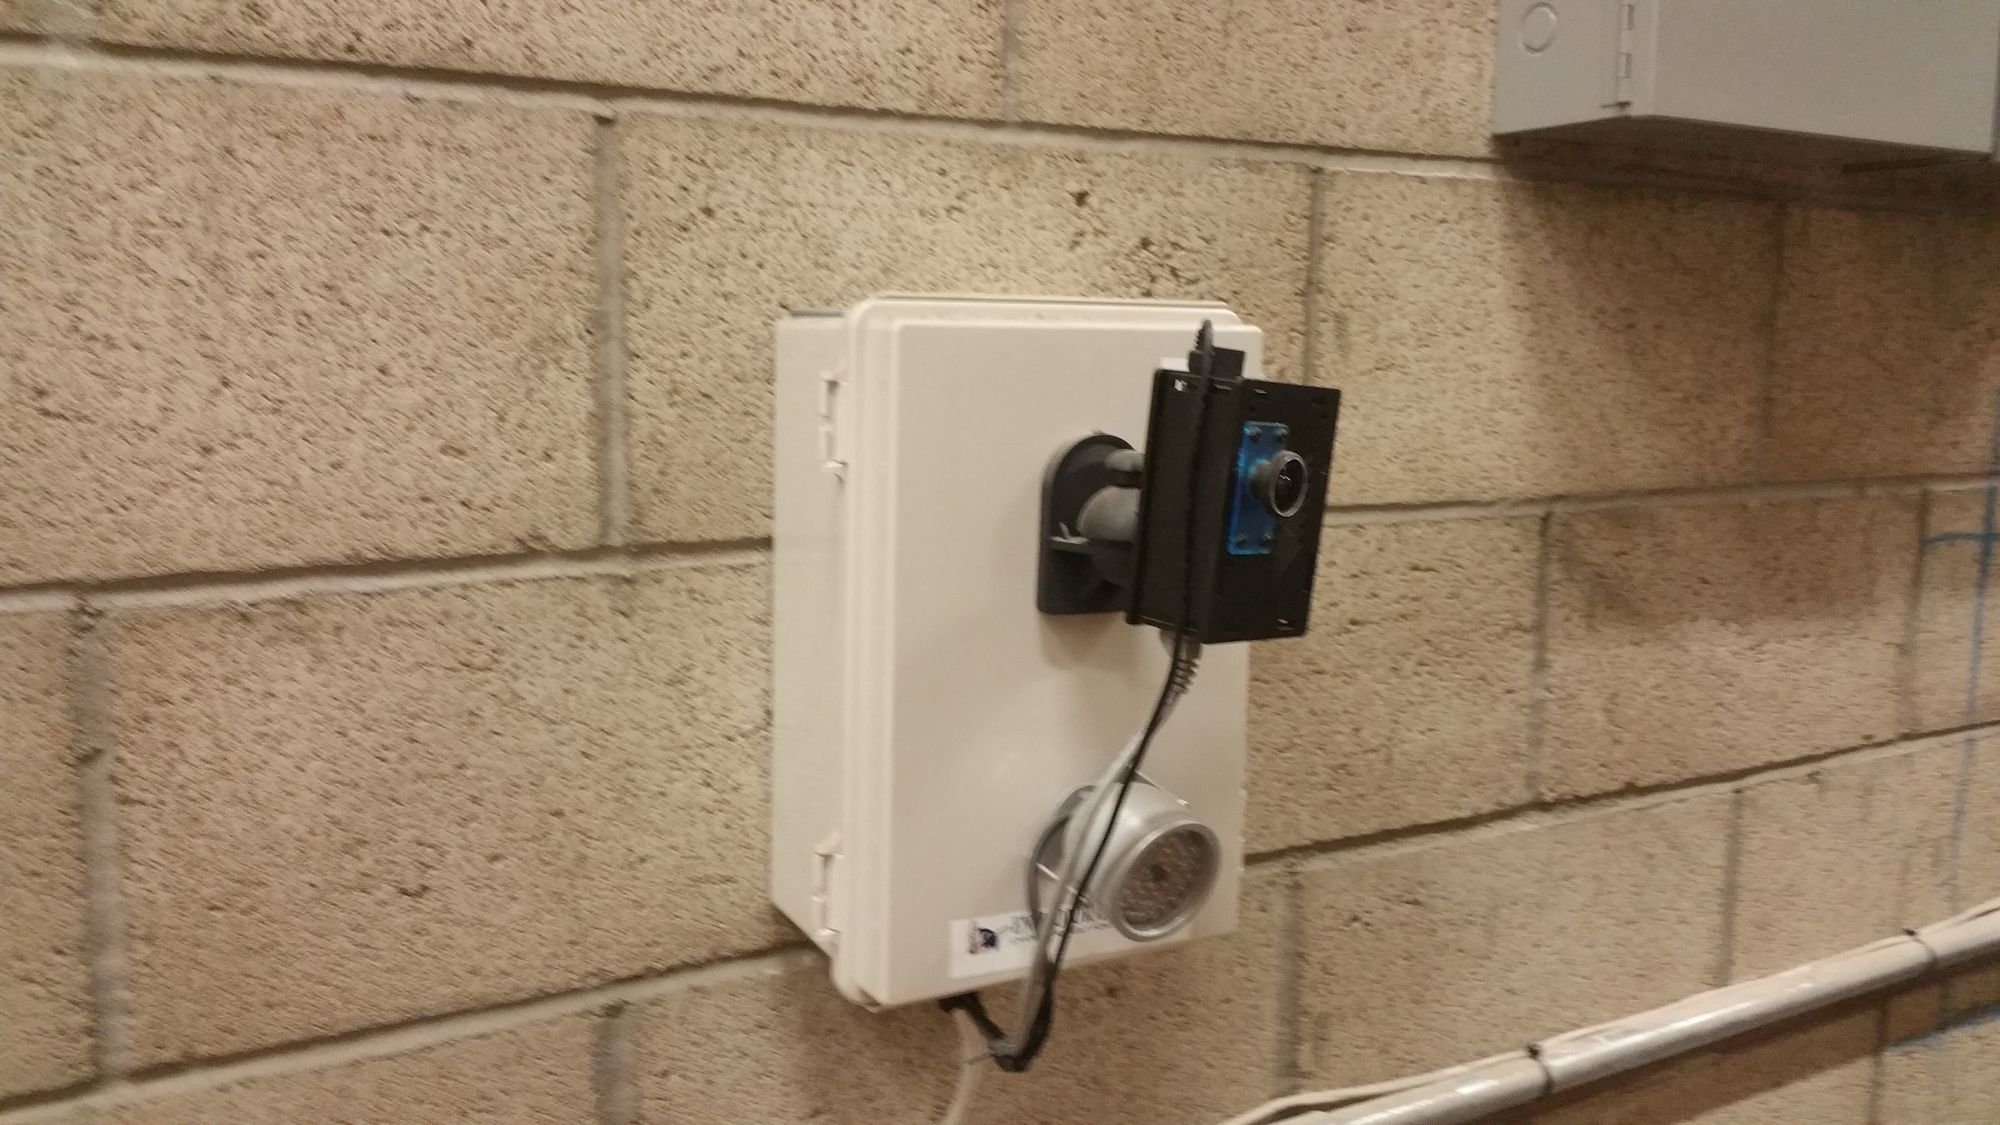
The first version I built up utilized a Raspberry Pi 2 Model B+ and a first gen PiNoir 4MP camera. This was all mounted into an ABS plastic housing with an adjustable wall mount kit that is no longer being produced. I dub thee PiMon 1!
Connectivity was provided a random Chinese brand Wifi adapter with a 50ft cable, as I had to mount the antenna outside in order to get any sort of reception inside the cinderblock room and across a parking lot. That was as long as the RTL driver was stable, which it wasn't. After some GoOgLiNg, it appears that those drivers were really only stable in Static IP configuration, and so it was.
On it's best day it got spotty reception, but enough that I was able to connect to their network. The plan was to connect to some sort of server or SMTP service to enable a daily send of a captured image.
Since this was a fairly large enterprise network, they had most ports locked down, and the only ports I could access were web 80/443 and TLS SMTP port 587. Good enough! External email provider it is!
So using some rando tutorial I set the PiMon to connect to Gmail via SMTP using locally stored credentials. After some trial and error (like image quality and size, login credential syntax, etc) the sendmail method worked great.
Based on that that I wrote a script to capture an image and send it with mpack to my personal inbox everyday, triggered by crontab.
raspistill -q 10 -o /home/user/pimon1.jpg

mpack -s pimon1 /home/user/pimon1.jpg [email protected]
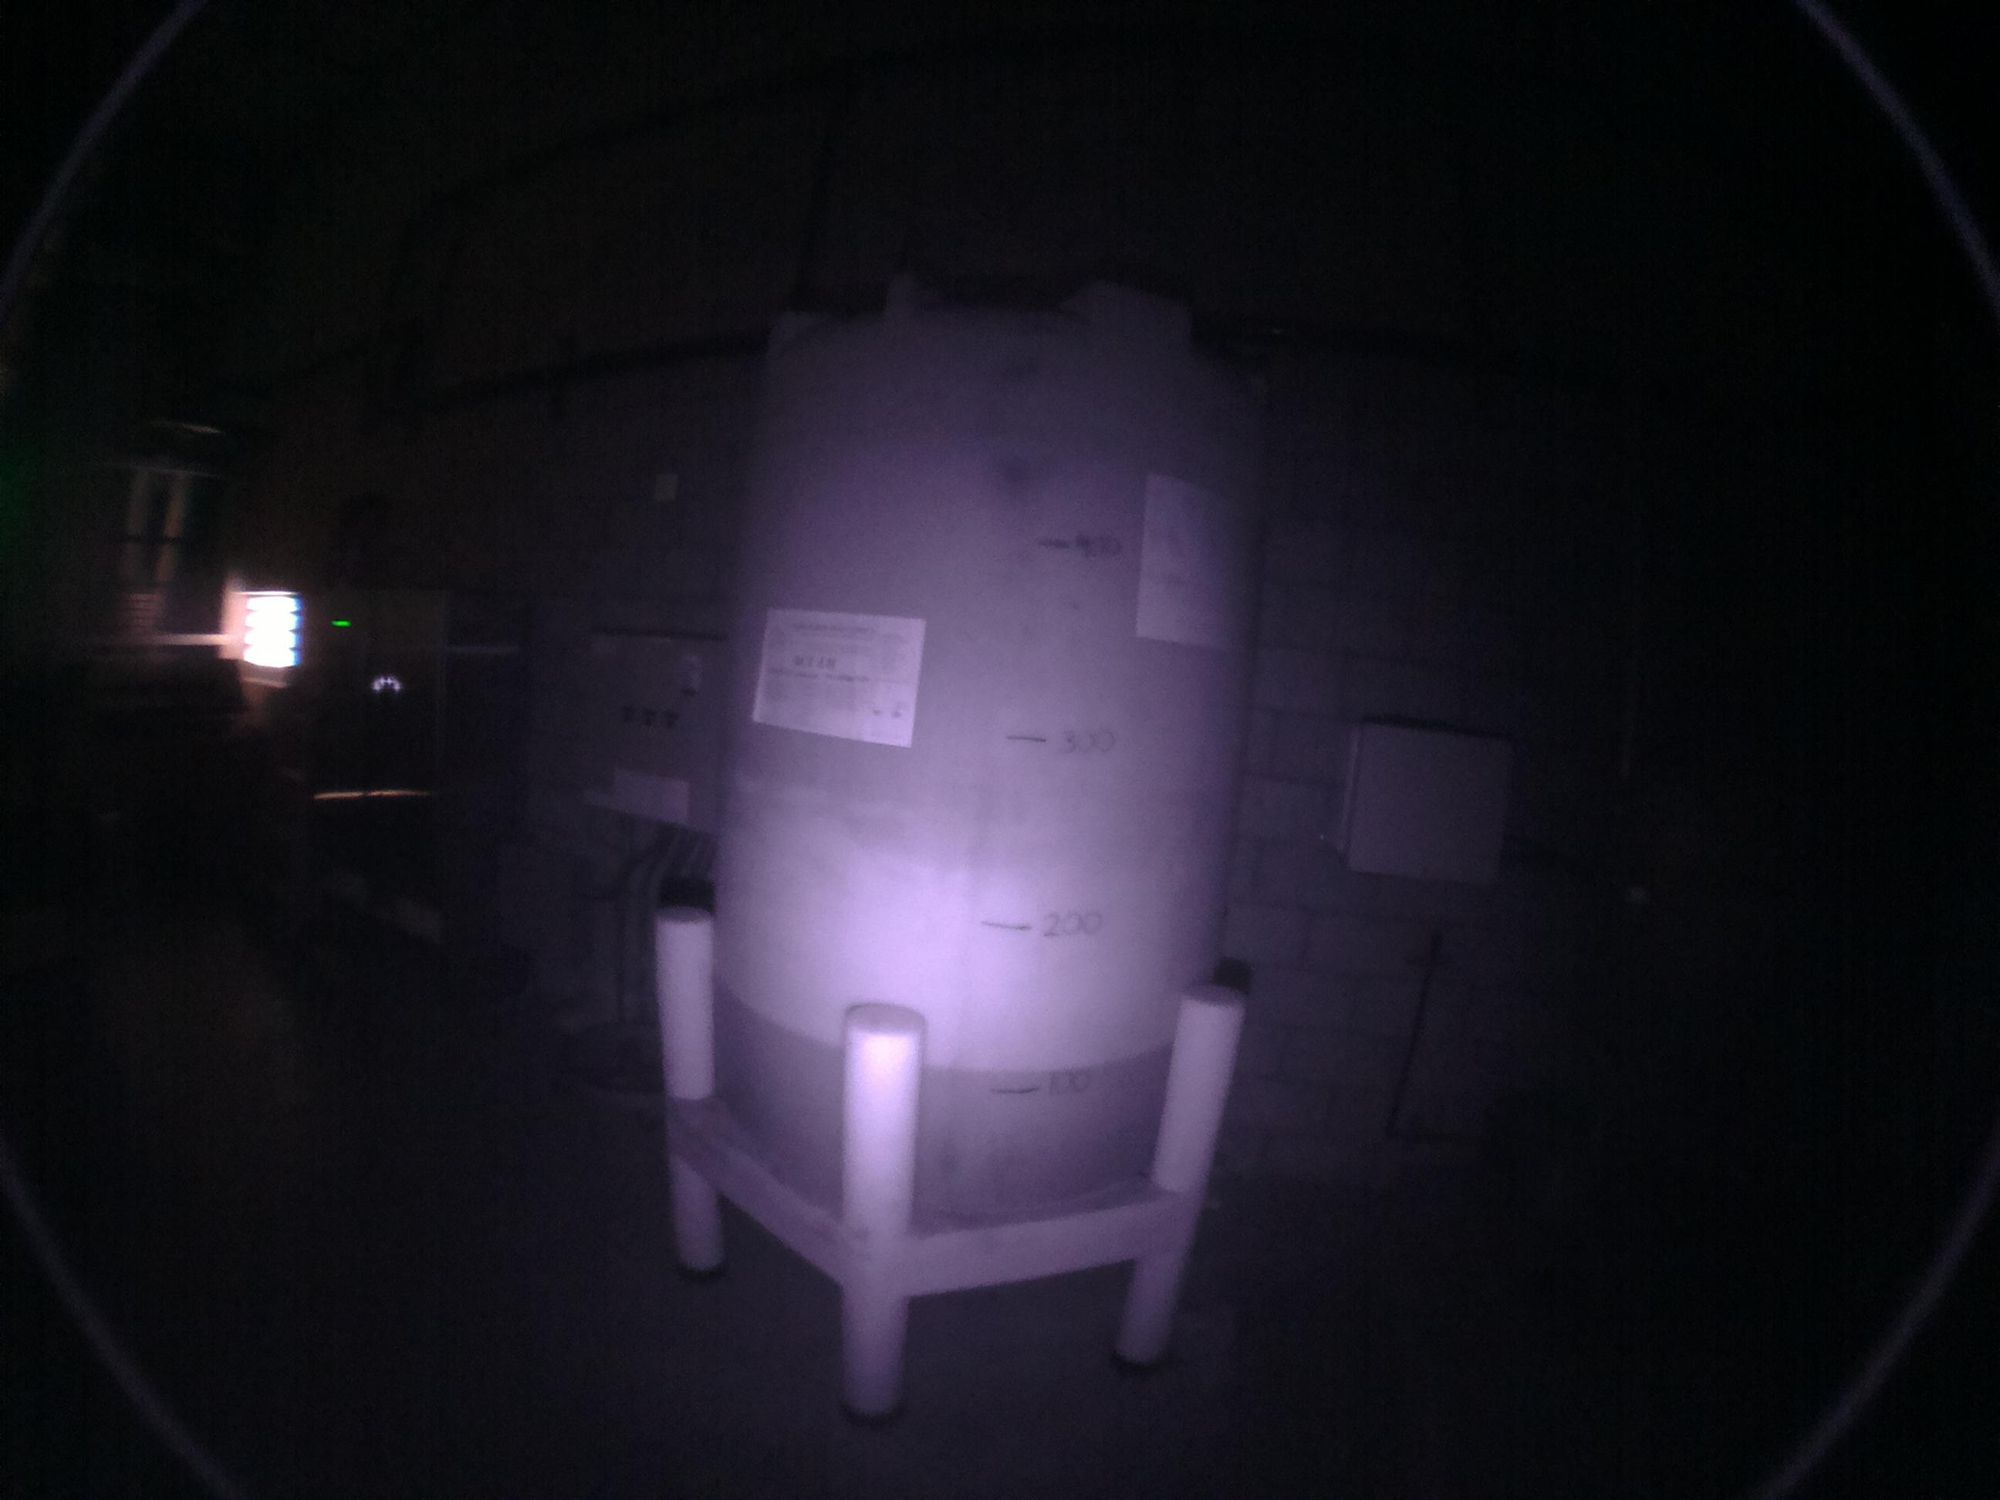
This was pretty straight forward and worked pretty well, until it didn't. There were a couple improvements that became apparent over time:
1) A date added onto the subject line would help for tracking purposes, as I could watch the liquid levels over time and use those values to track usage rates as well as use backdated images for auditing purposes.
2) The wifi adapters I was using were struggling to stay connected, particularly at the longer range locations at the end of the parking lots, roughly 1/8 mile.
3) As I added more devices into the system, it would help to have them identify themselves, using a more modular script so I can just apply changes to the script as a fleet
4) Sometimes the devices would freeze and would need to be restarted, particularly those that were exposed to more of the elements, so maybe a timer or reset function to help them stabilize.
5) Any changes I needed to make to the script had to be done while I was at the location, and it would be nice if I could connect to them from the home base
Problem 1+3
So addressing problem 1+3, I updated the script to add identifying information into the script to provide identifiers for each device and date sent for reference purposes.
DATE=$(date +"%b-%d-%y")
PINAME=$(hostname)
raspistill -q 10 -o /home/user/"$PINAME".jpg
mpack -s "$PINAME $DATE" /home/user/"$PINAME".jpg [email protected]
Problem 2
For the 2nd problem, I had to really dig around for options that a Raspberry could support and could be used outdoors. It took a while but my results weren't found searching for the usual hardware, but instead in the Commercial networking space. While there were many options with a fat price tag, I came across some that were reasonably priced: Ubiquiti Products
After some preliminary research on Ubiquiti products, I settled on using a Ubiquiti PicoStation M2
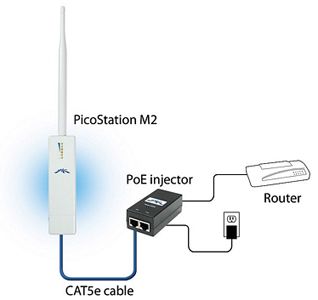
Since the Raspberry had an ethernet port, connecting it to the Picostation was a cinch. Connecting the Picostation to the client's AP went quickly and within an hour (I had to learn their UI and networking jargon I wasn't familiar with) it was up and running, with a solid signal that would yield 300ms or less ping times with substantially decreased packet loss across the parking lot.
Since the Picostation was designed for wall mount and outdoor usage, it mounted easy and fast and would withstand whatever inclement weather or horrid sunshine mother nature could hurl at it. Nice 😎
Problem 4
To address this one, I added a crontab event to restart the unstable Pimons every night at midnight. This helped with some, but not with others.
For those troublesome units that it did not help with, I installed a physical timer and adjusted the scripts to allow for start-up, perform actions, then shutdown events.
DATE=$(date +"%b-%d-%y")
PINAME=$(hostname)

#pause for net connect
sleep 240

#smile for the camera
raspistill -q 10 -o /home/user/pimon1.jpg

#package and ship image
mpack -s "piMon1 $DATE" /home/user/piMon1.jpg [email protected]

#removing capture for image freshness
rm /home/user/piMon1.jpg

#pause for transmission
sleep 540
#sleep 1540

#go to sleep little pibox
sudo shutdown -P -h 0
#sudo reboot
This approach kept them mostly stable. The only issues encountered after that regarding stability had to do with the SD cards becoming corrupted from time to time, particularly with the ones in the outdoor facilities.
This sub problem of exposure to the environment lead to a solution I will describe a little later.
Problem 5
Waiting to access the devices in order to add upgrades to the scripts was kind of annoying as I wasn't able to install updates in a timely manner, so everything took forever.
The first method I tried to circumvent this issue was by installing a commercial grade 4G Router, namely the Pepwave BR1. It was still able to connect to CDMA networks, namely Verizon, and I was able to purchase a low cost (read $20/mo) plan to offer cellular connectivity to this location. If it worked, I could apply the same solution to the 2nd location some 30 miles east.
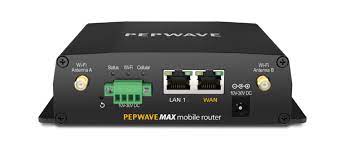
After learning about how these beauties worked, I had it up and running in about 2 hours with 2 PiMons connected to it. Unfortunately, the router was pretty expensive and it still didn't offer good support for SSH'ing back to it for some reason.
After a couple months of running like this, I came across an interesting piece of software: ZeroTier.

Zerotier offered a system of Peer-to-Peer networking using UDP to create a virtual LAN connection, which was able to bypass the client's LAN firewall blocks on SSH. With that I was able to connect back to my homebase server, and vice versa. Nice 😎
With this piece of the puzzle in place, I was able to remove the Pepwave solution and connect directly to the on-site WiFi, cutting that cost back down to $0 for connectivity.
And, as a matter of identification, I added a variable to the script to attach the device's IP address to the email as well, so I can quick reference that device for connections, in addition to the ZeroTier client list in the portal.
Revisions and current state
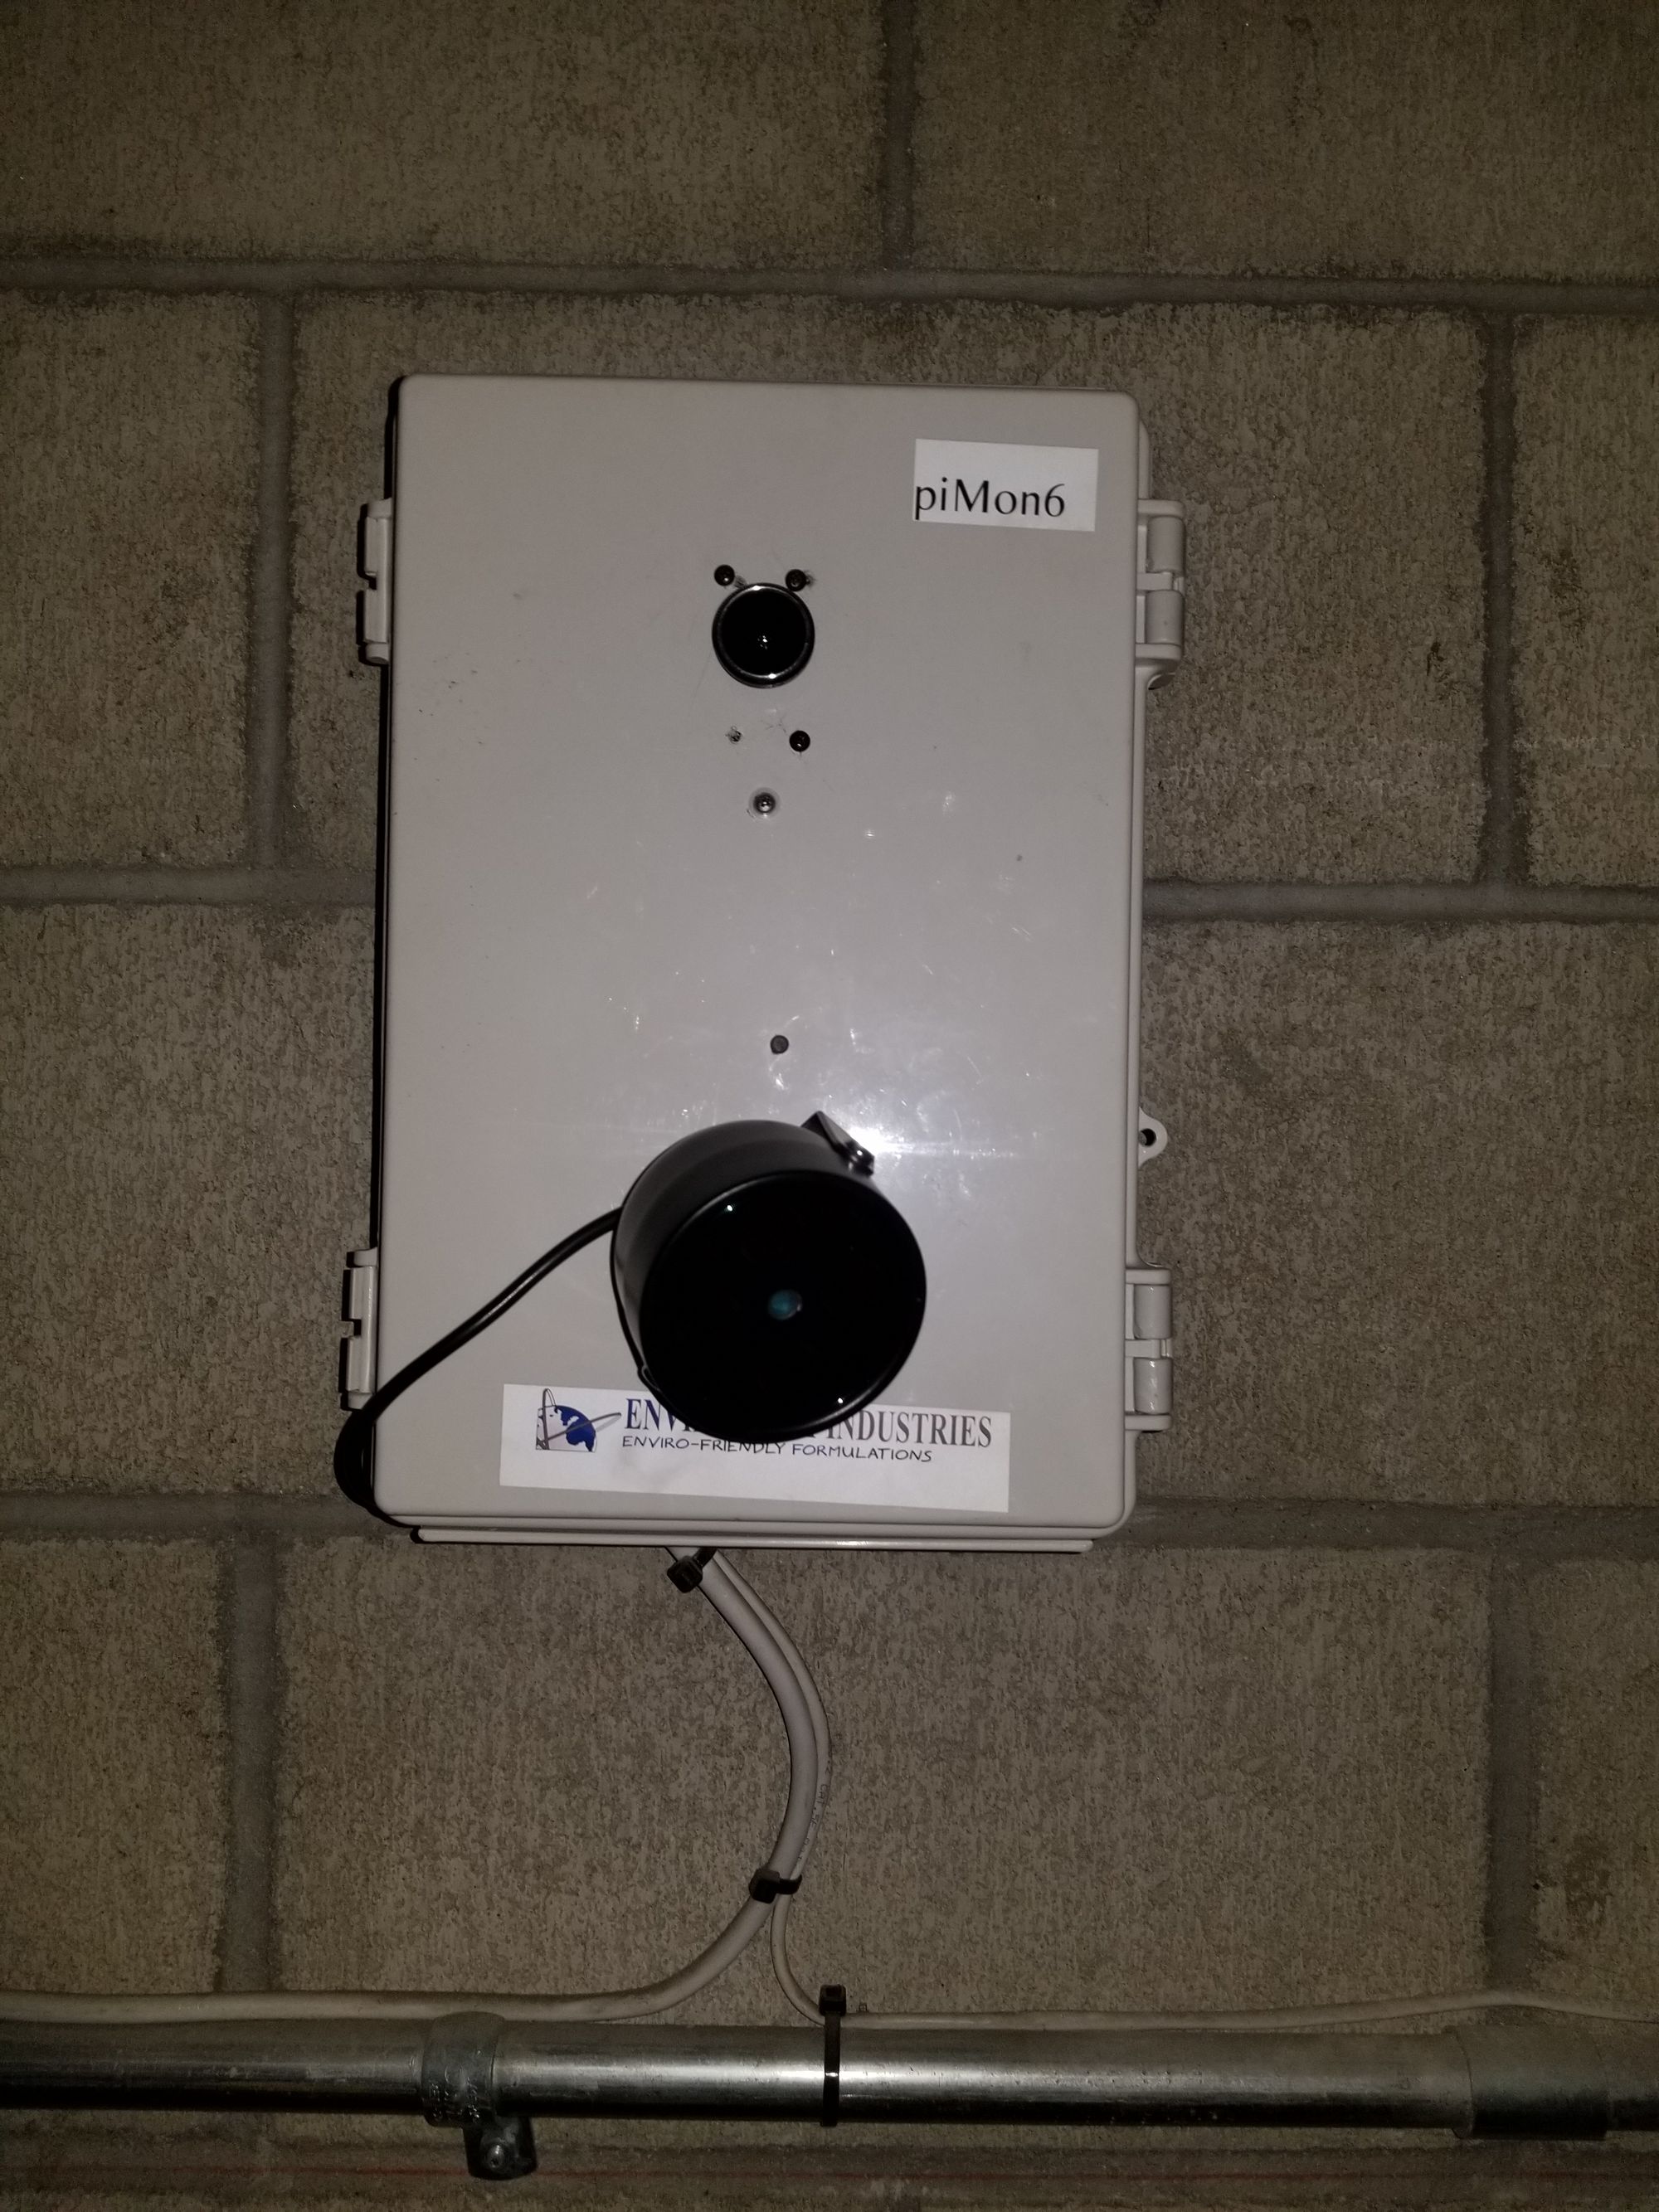
With further time and consideration, I found a nice sized weather proof box from McMaster Carr that I was able to stuff all the parts into to help provide protection against the elements addressing the sub problem from 4.
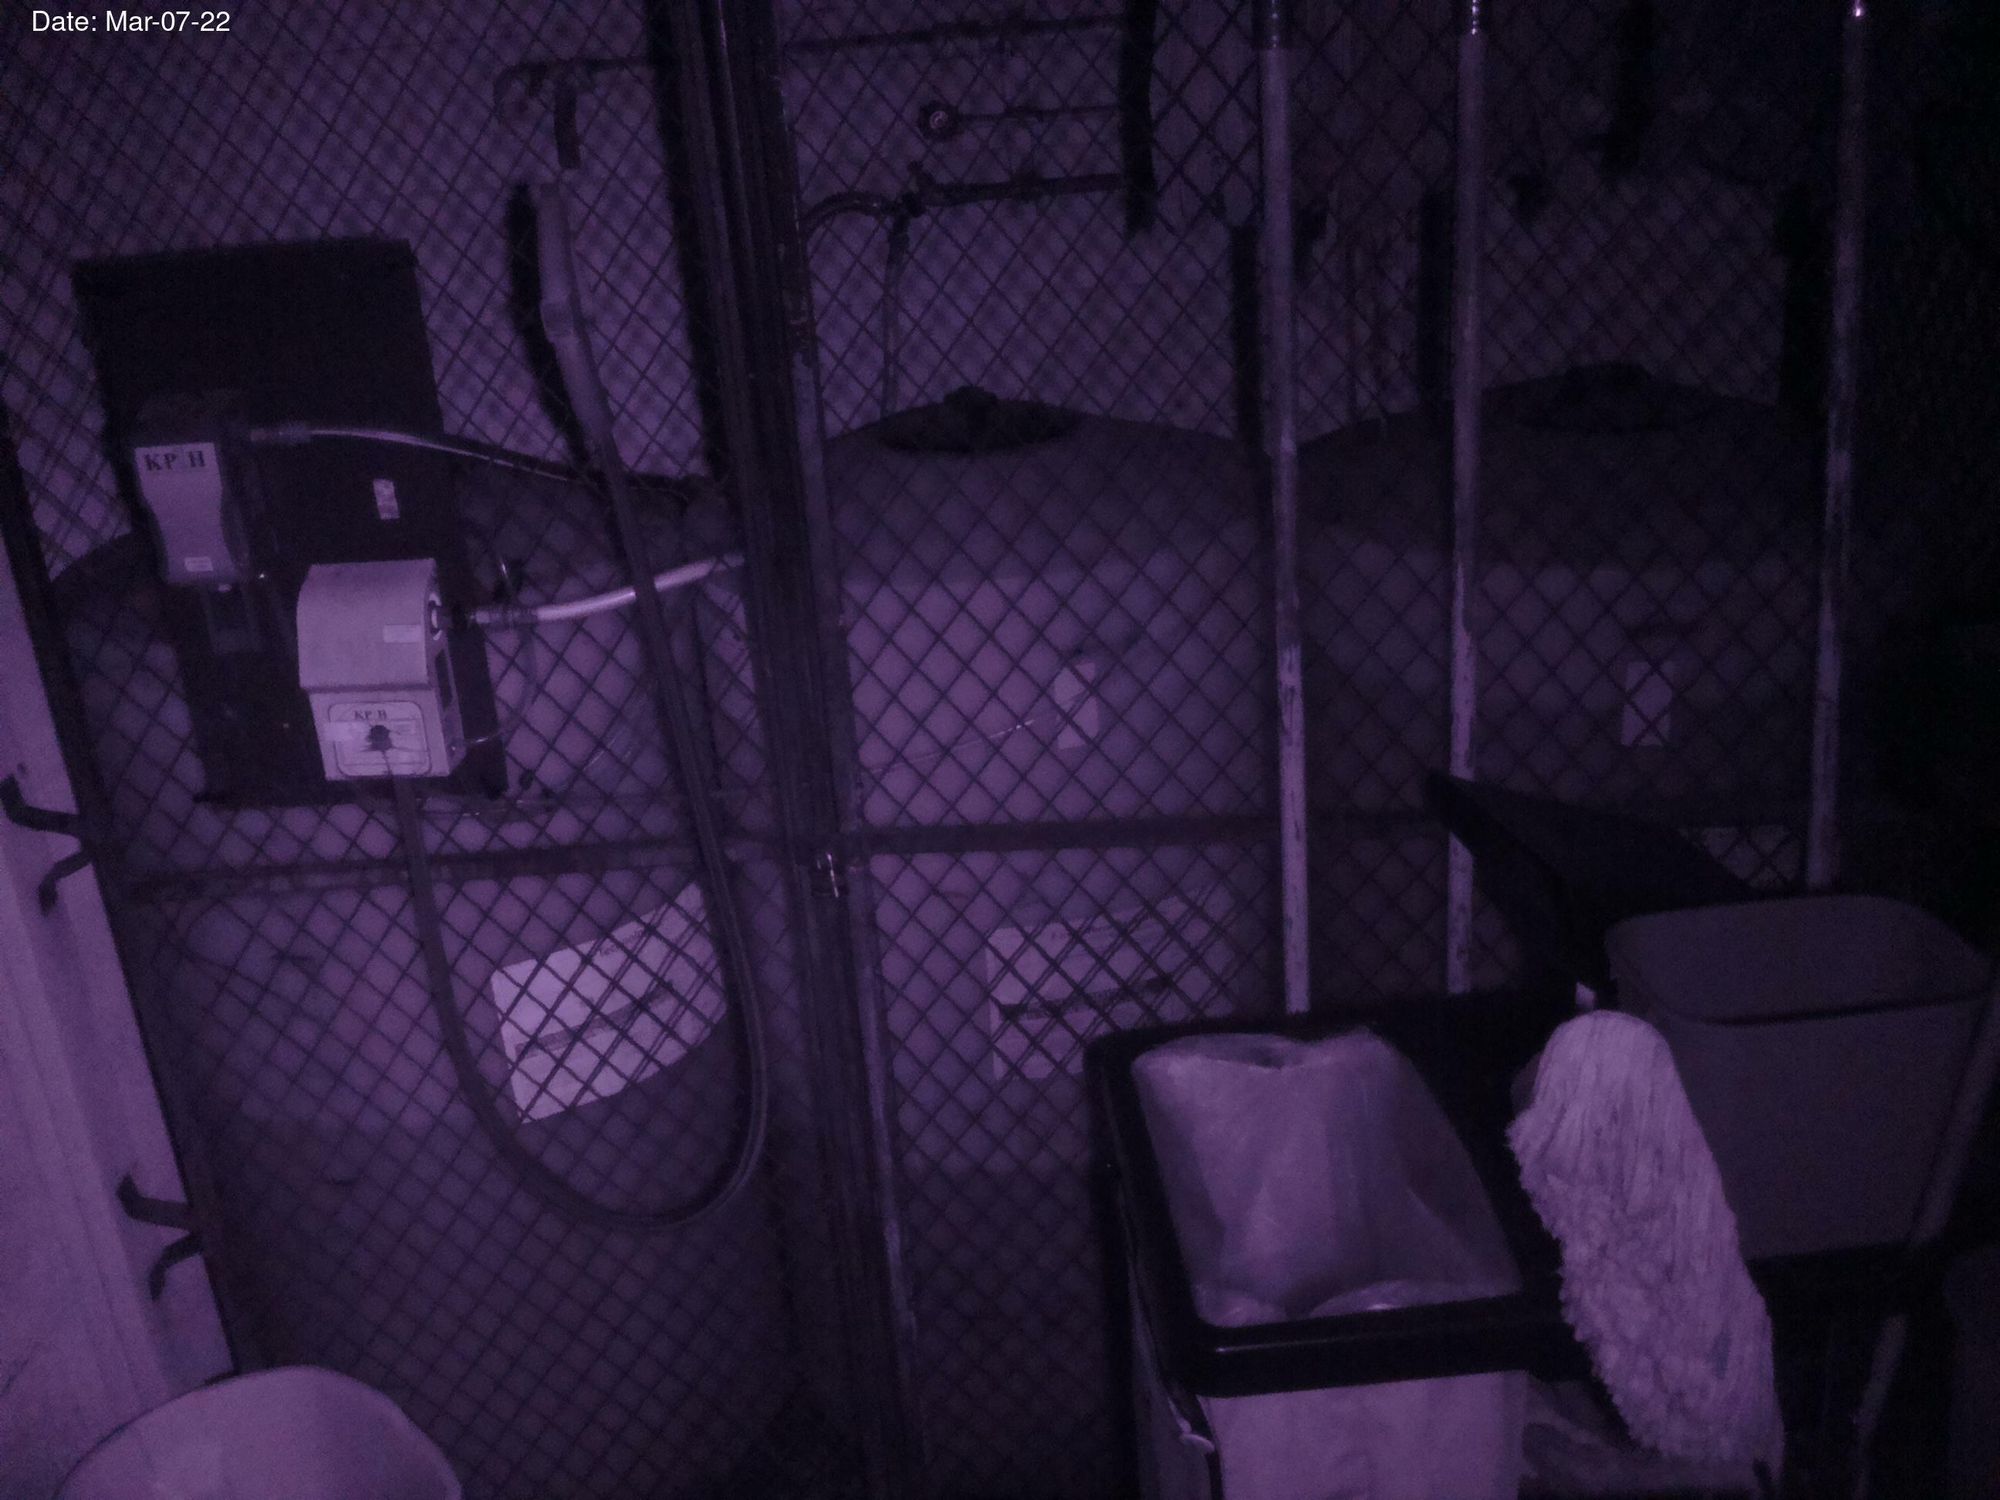
I also added in some more scripting to timestamp the images in addition to help identify when a picture was taken with the following:
#VARIABLE DEFINITIONS
IP=$(hostname --all-ip-addresses)
DATE=$(date +"%b-%d-%y")
PINAME=$(hostname)

#Pause for net connect (in case of reboot snapshots)
#sleep 60
sleep 240

#removing previous image capture for freshness
rm /home/user/"$PINAME".jpg

##Testing area
#Camera capture (comment or uncomment for USB FS webcam or Raspberry Pi Cam raspistill)
#fswebcam /home/user/piMon1.jpg -r 1280x768
#retake or FSwebcam first image capture bug
#sleep 10
#fswebcam /home/user/piMon1.jpg -r 1280x768

#say cheese!
raspistill -q 10 -o /home/user/"$PINAME".jpg

#timestamp it and append a 1 to filename for identification
convert "$PINAME".jpg -pointsize 36 -fill white -annotate +40+40 'Date: '"$DATE" "$PINAME"1.jpg

#package and ship image
IP=$(hostname --all-ip-addresses)
mpack -s "$PINAME SNAPSHOT $DATE IP $IP" /home/user/"$PINAME"1.jpg ${sendtoaddress}
#upload to web, auto auth
scp -q /home/pi/"$PINAME"1.jpg [email protected]:~/captures/

#pause for transmission
#sleep 120
#sleep 540
sleep 14400

#Uncomment to shutdown for periodic cycled PiMons
#sudo shutdown -P -h 0
#sudo reboot
Next Steps
Future modifications would be to use RPi 4 units, and add logic so that the scripts would automatically adjust between always-connected, reboots, or startup-shutdown script versions based on the Hostname.
Next would be to control them more effectively using Ansible (using the always-on and repeat-until-true capabilities of Ansible) for updates/control, and uploading images to AWS S3 instead of my local server.
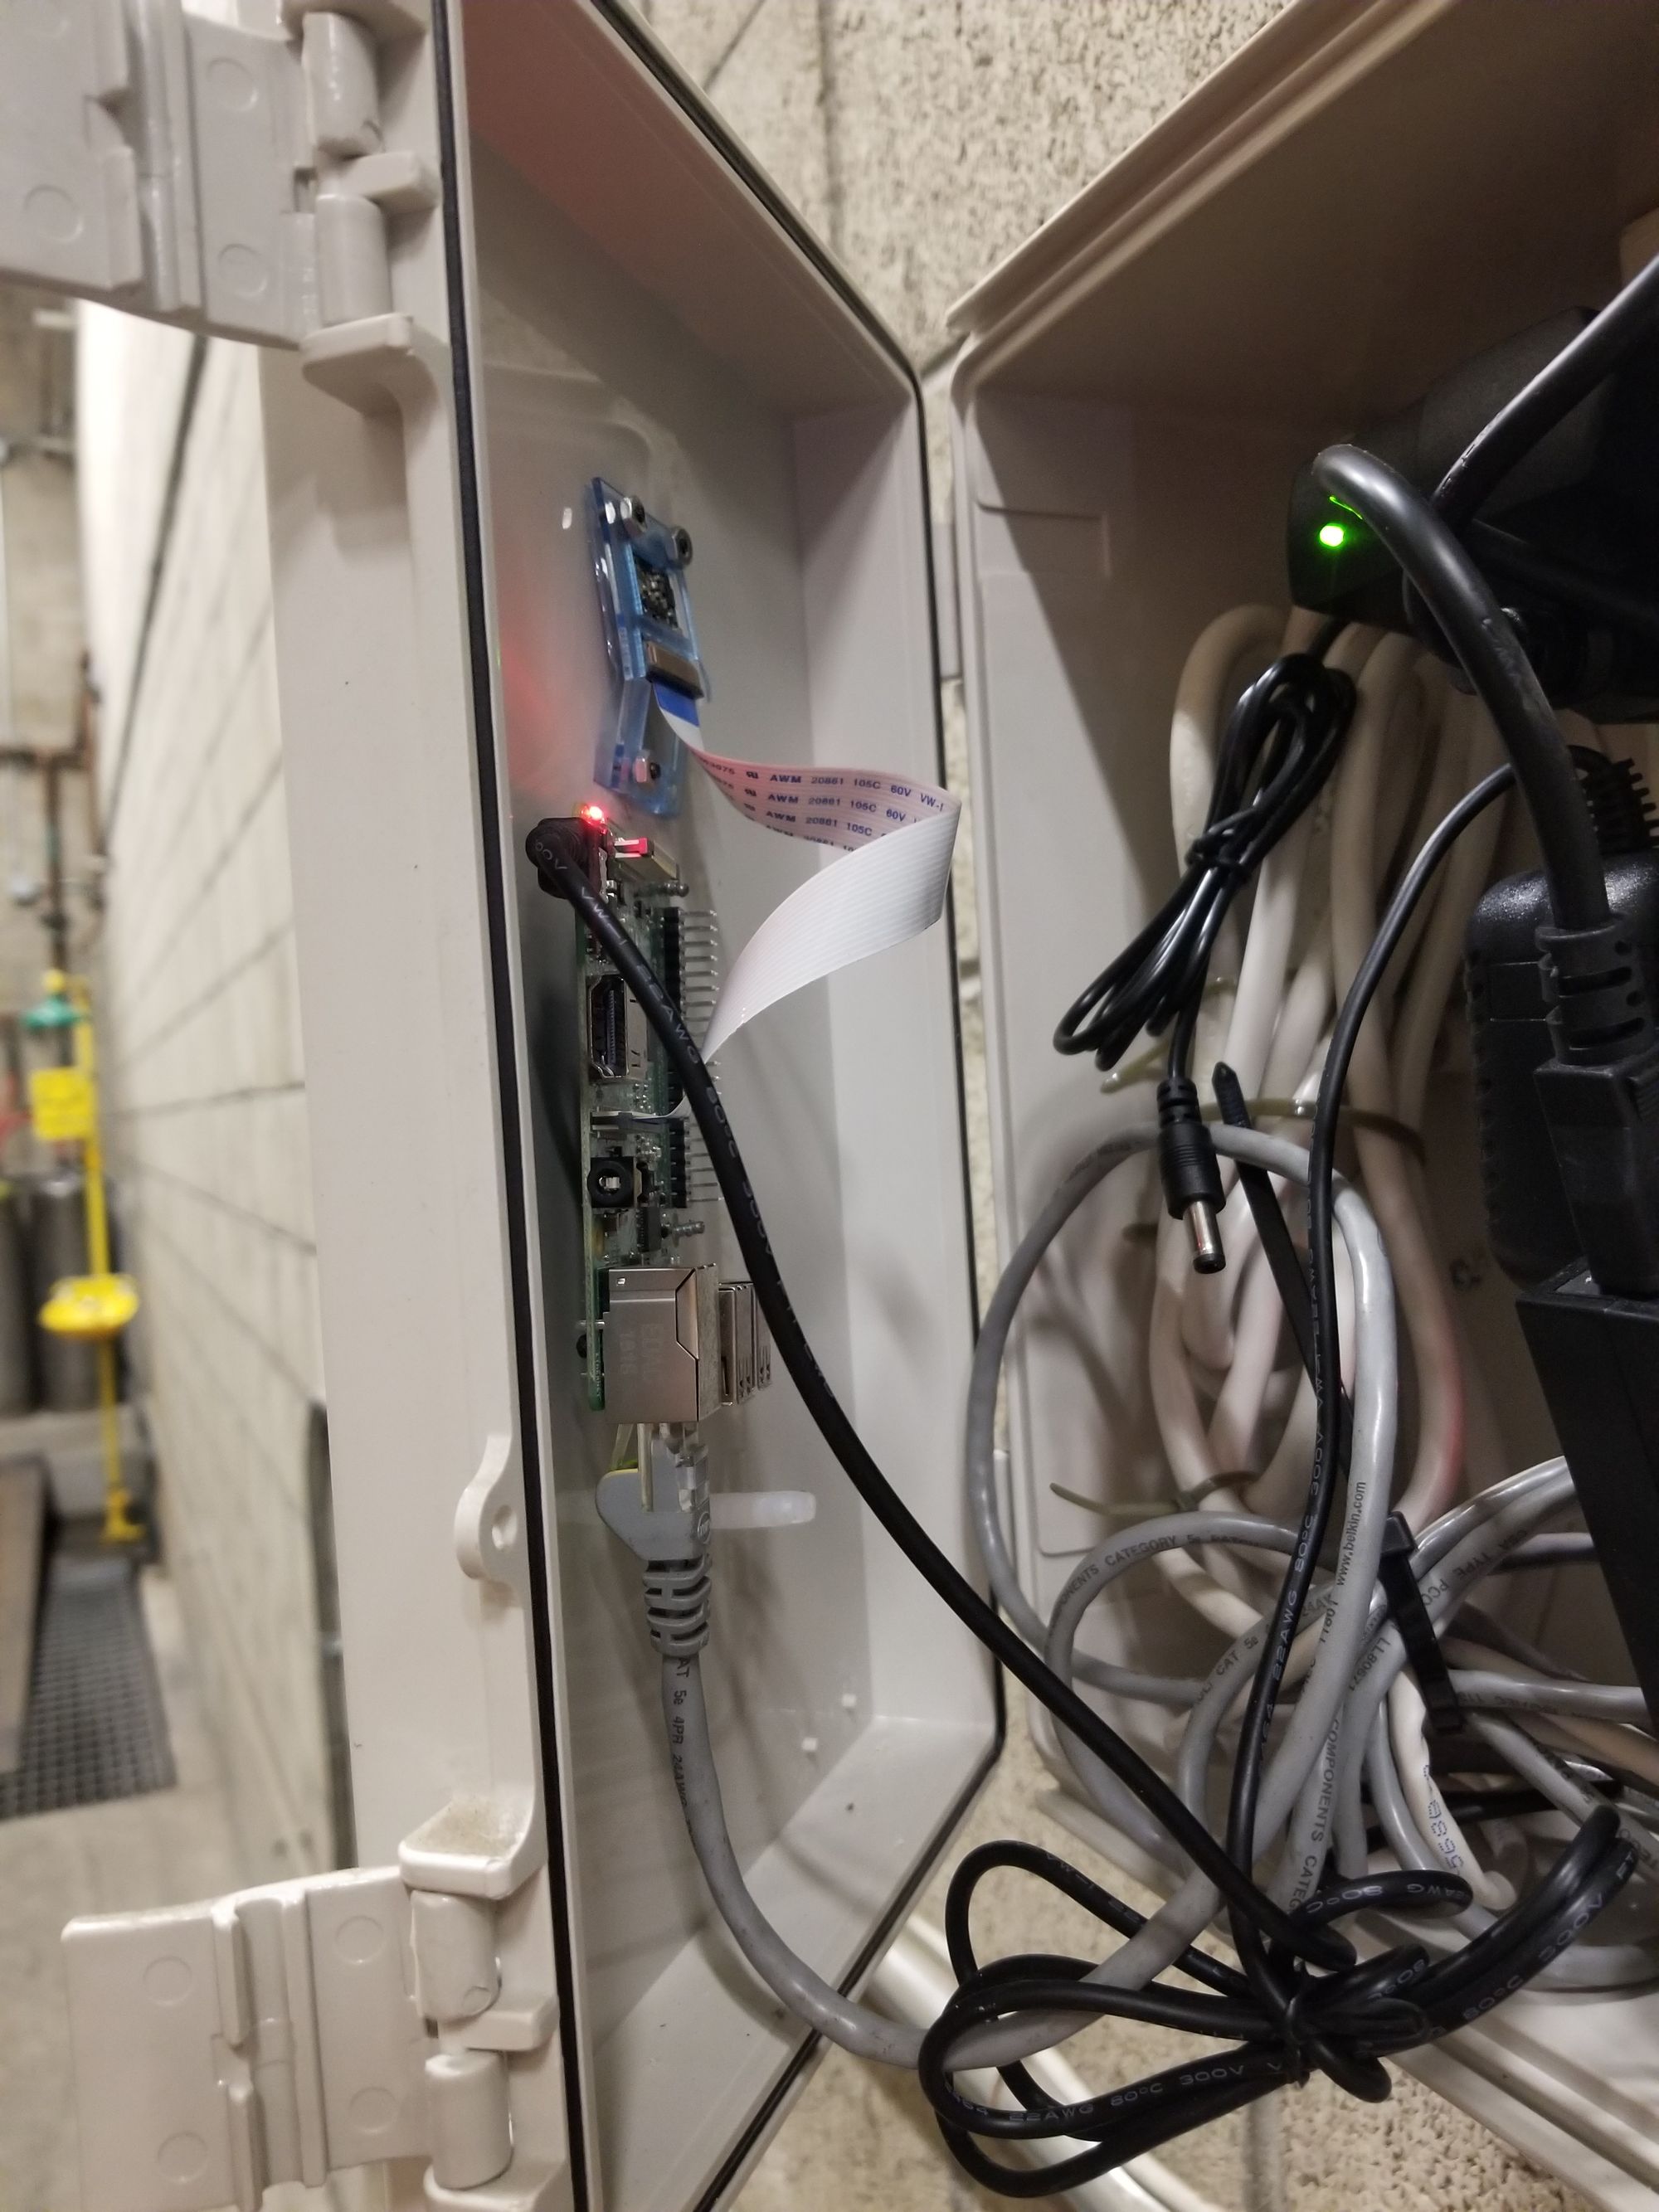
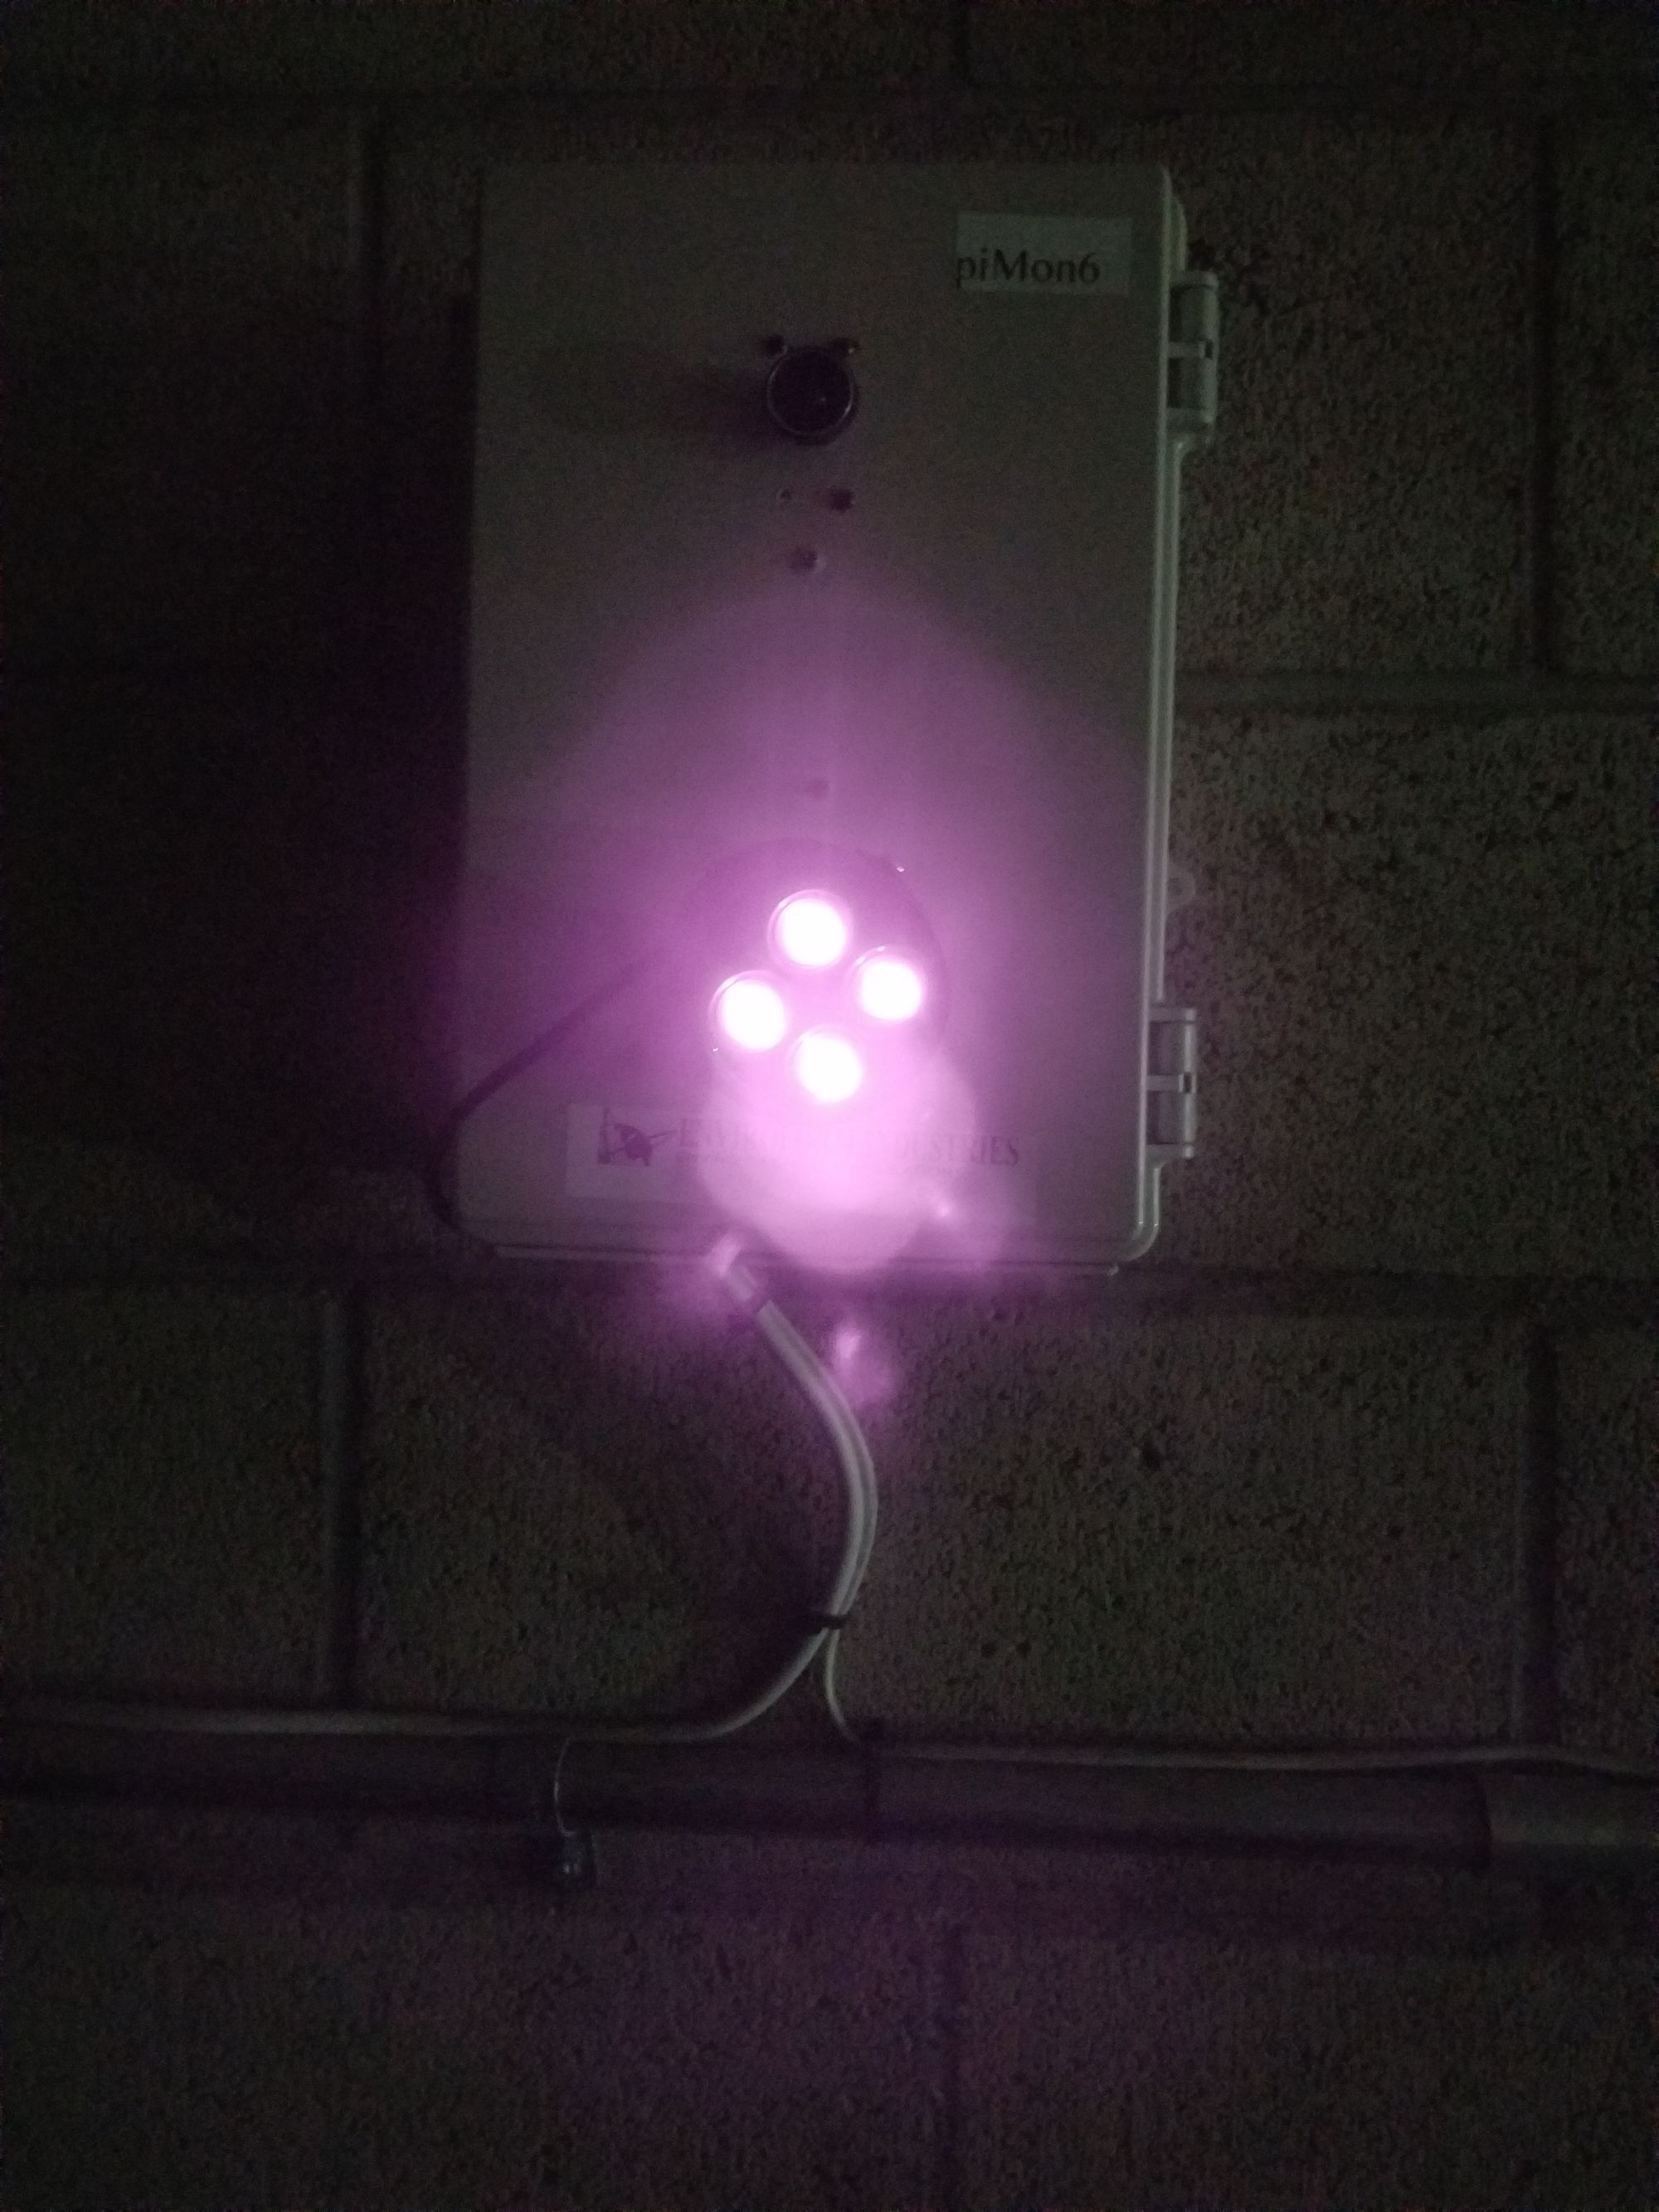
Physically, they were fairly self-contained. The last iterations looked a bit cleaner than the holey piMon6 unit above, so my plans for next stages were to minimize the amount of crazy cables inside the box.
That would likely entail a custom-built power distribution system inside with 110V in, and 110V, 12V, or 5V outputs, plus space for the optional Ubiquiti parts and custom-cut cabling so that it would fit more effectively in that box's space.
Maybe it could be condensed further since much of that space is just adapters and wires? I'm not sure, but at this point, we've ended the contract and I'm out of that business, I don't think I'll get a chance to find out any time soon. C'est la vie.
Here's some random pictures of the project:
